
I created the bump map above using the texture I had created previously in Photoshop. Grey areas in a bump map indicate flat areas whereas white and black indicate the rise and fall in the texture. The background of the image was set to a mid-level grey for the flat effect. I then removed the saturation from the image turning the image grey scale before applying the high pass filter changing the image to the one seen in the screenshot above. At this point the image can be used as a bump map. However the edges of the image have white lines around them. This would cause a bump in the texture along the symmetry lines. I fixed this using the rubber stamp tool and blending them slightly.
 |
| The final bump map |


Tweaking the bump map properties with a noise modifier reduces the density of the bumps in the bump map giving an even more realistic effect.
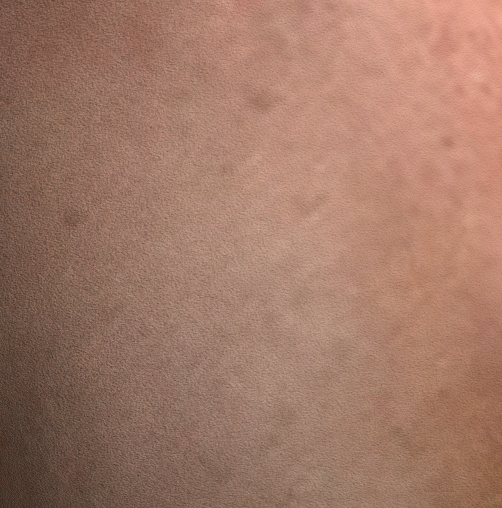
Close up the effect of the bump map is quite impressive.

No comments:
Post a Comment