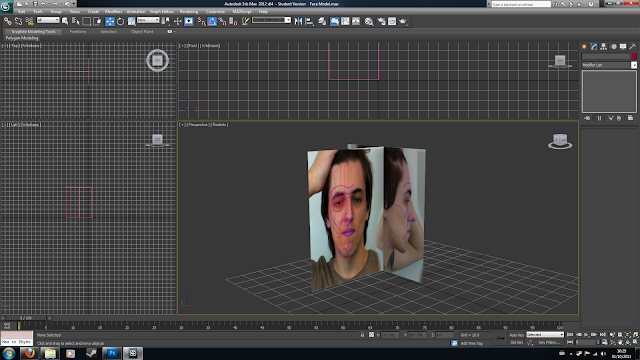
With the reference image complete I created a plane in 3D Studio Max and add the image as a texture. However simply adding the image as a texture causes the image to stretch to fit the size of the plane meaning that the reference is not accurate in size and shape.
To fix this I added the UVW modifier to the object and selected bitmap fit to keep the original aspect ratio of the image. Once positioned correctly I created a new plane at a 90 degree angle to the original and placed the profile reference on that one.
To make sure the reference planes do not interfere with the modelling process and are not accidently selected I edited their properties so that they do no recieve shadows, cannot be rendered and are frozen from selection.
Tracing the reference lines:
Using the front view view-window I the began drawing out the lines of each polygon needed to form the face using my reference image as a guide.
It was at this point that I noticed some errors in the refence image. Not every polygon had been kept a quad and so I had to draw new lines to compensate.
Converting to actual ploygons:
With the reference lines traced I then converted one square into an editable poly. Then, in the modify panel, selected the attach option to attach the rest of the lines to the polygon creating one large object of polygons. However at this point the object is still completly flat.


No comments:
Post a Comment