 |
| Original |
 |
| New Photo |
With the reference image updated I reloaded the image in 3DS Max and started drawing the topology lines. I made sure before continuing that there were no triangles in the model. Just like with the beginning of the face I had to draw each polygon and then when finished attach them together. Then finish up by welding the vertices.
The next step involves adding depth to the model. I did this using both the front and left viewports and dragged out each vertices one by one to where it should rougly be represented by the reference image.
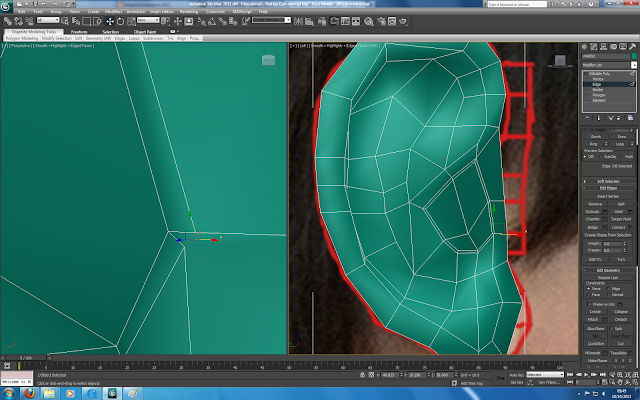
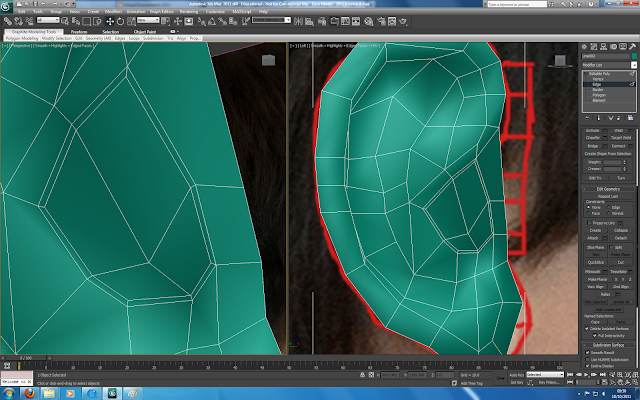
Once I had finished adding the depth and shape to the ear I selected the part of the ear which leads to the ear drum and used the champfer tool to get the extra lines seen below.
While useful this tool likes to add triangles to the topology and to counter that I had to select the offending edges and click collapse to collapse the edge down. This method is shown in the images below.


Eventually I ended up with the model below:
The general shape is pretty good so far albeit not perfect. The next step will be to add the back of the ear and attach it to the head.


No comments:
Post a Comment